FYI, during setup, I ran into a lot of issues. I was unable to connect to Whatsapp and I was getting errors on OpenClaw’s configuration file not being set properly — GitHub Issue
Later, I came to know that the recommended setup process (the cURL command) by OpenClaw had bugs.
So people are suggesting going with a different installation setup, which is seamless.
This exact version seems to be right! No issues as explained in the GitHub Issue
Don’t worry! I am going to explain with this type of installation.
First, let me give a surprising fact about OpenClaw.
OpenClaw is not an AI tool. The name, how they portray it, and how the social media influencers are explaining the tool. These things make us believe it’s AI, but it’s not.
In simple words, it’s a message-orchestrator platform. It’s the platform that connects with various tools include AI, to perform actions by sending messages to the respective integration or AI. That’s it!
Here’s what it does:
1) Acts as a Persistent AI Assistant:
It does this by making API calls to pre-existing models and answering you, just like any other ChatBot (Claude, OpenAI, etc)
2) Automates Real-World Tasks:
This is where the real power comes in!
- Manage your email and calendar
- Send daily AI updates at exactly 8 AM by researching the web
- Create, Read, Modify your local files
- Integration with Slack, Notion, WhatsApp, Telelgram or any integration just via the chat interface and build a whole automation platform.
You might be thinking, “What doesn’t it do?”
3) OpenSource:
It can be self-hosted. Can run anywhere. On your system, AWS EC2 instance, or probably a separate MAC MINI (That’s what people are doing these days)
So, with that said, let’s get to the setup guide.
Setup Guide
Just know these 2 terminologies! - Gateway & Channels
Gateway: It’s the bridge between OpenClaw & the external world. Without it, OpenClaw can’t send or receive data from anyone.
Channels: Messaging platforms(Slack, Telegram, WhatsApp) where you can talk to or listen to the chats via Gateway.
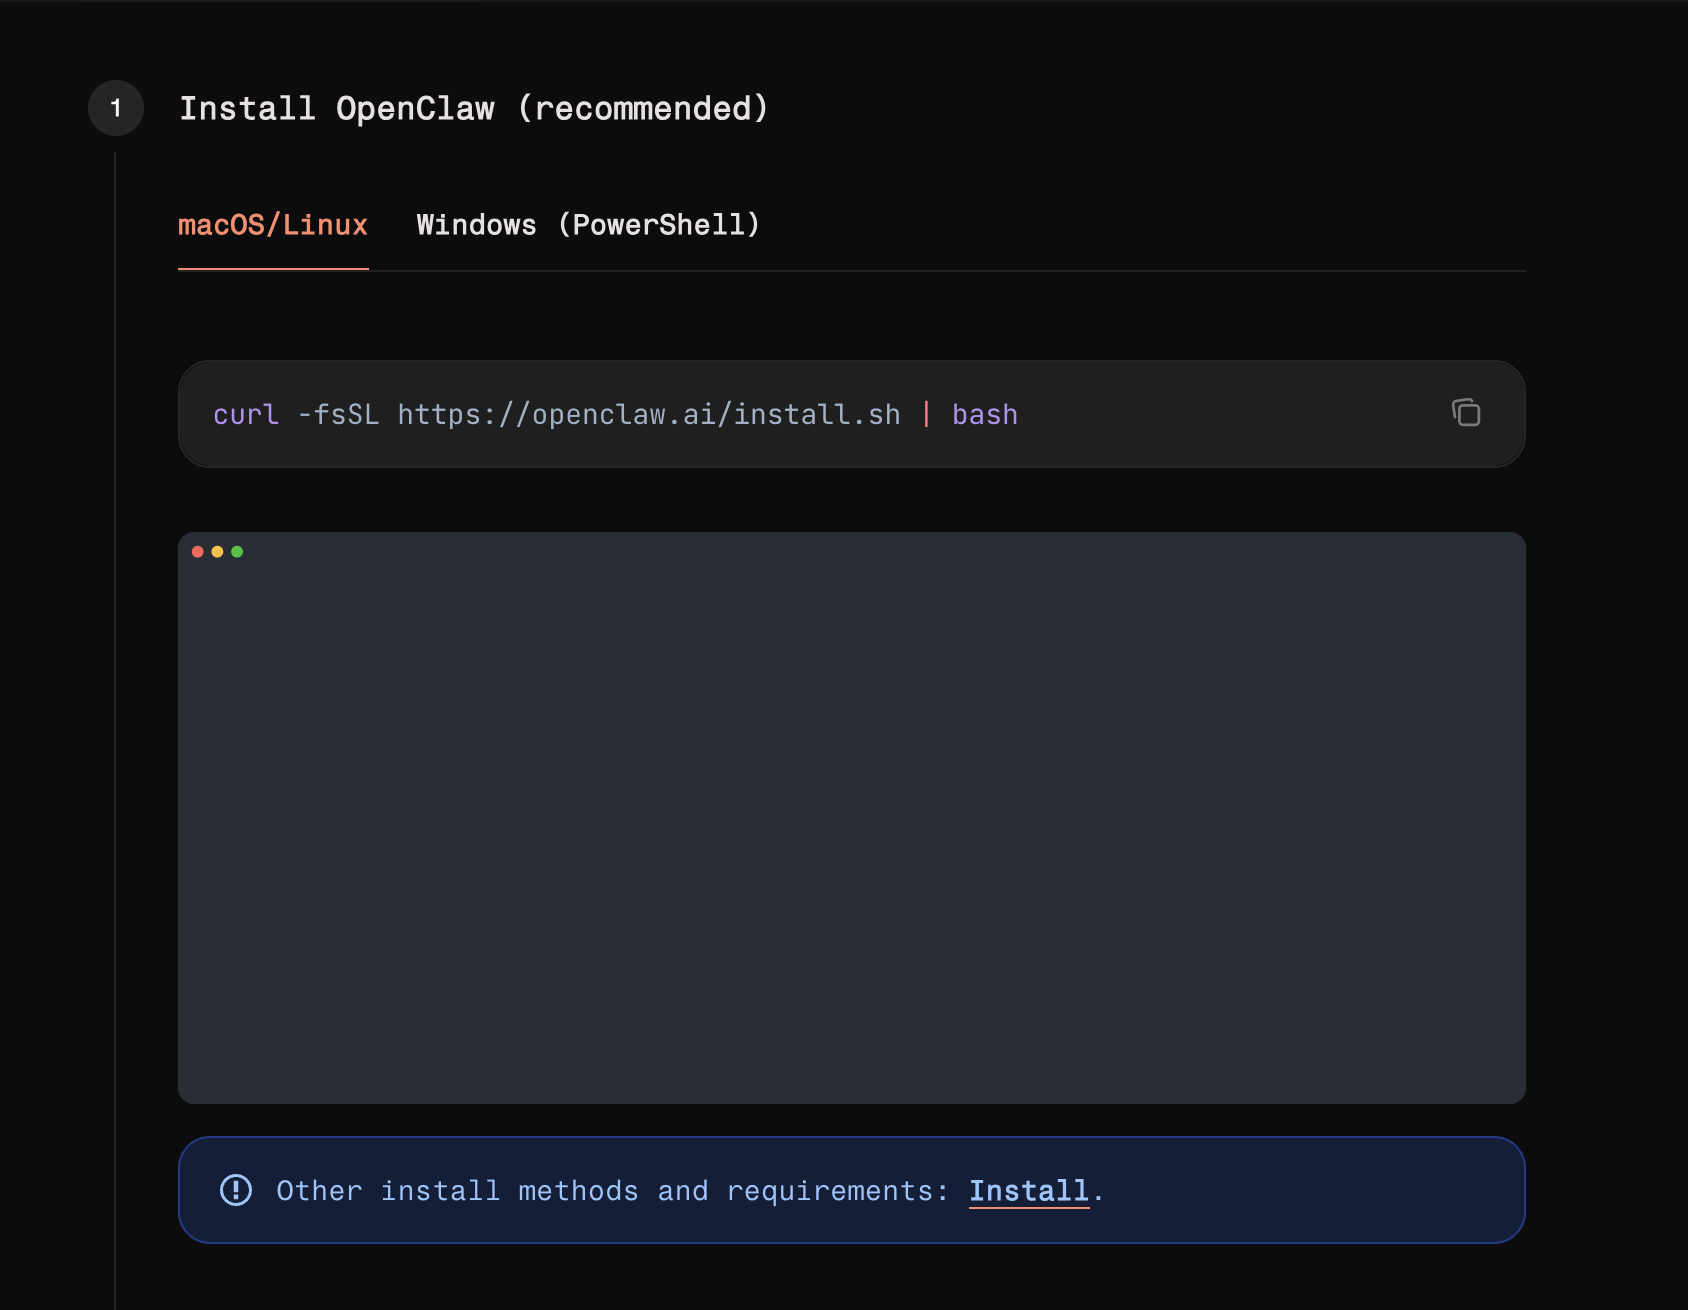
1) Install Node version 22
2) Install OpenClaw
The Result:
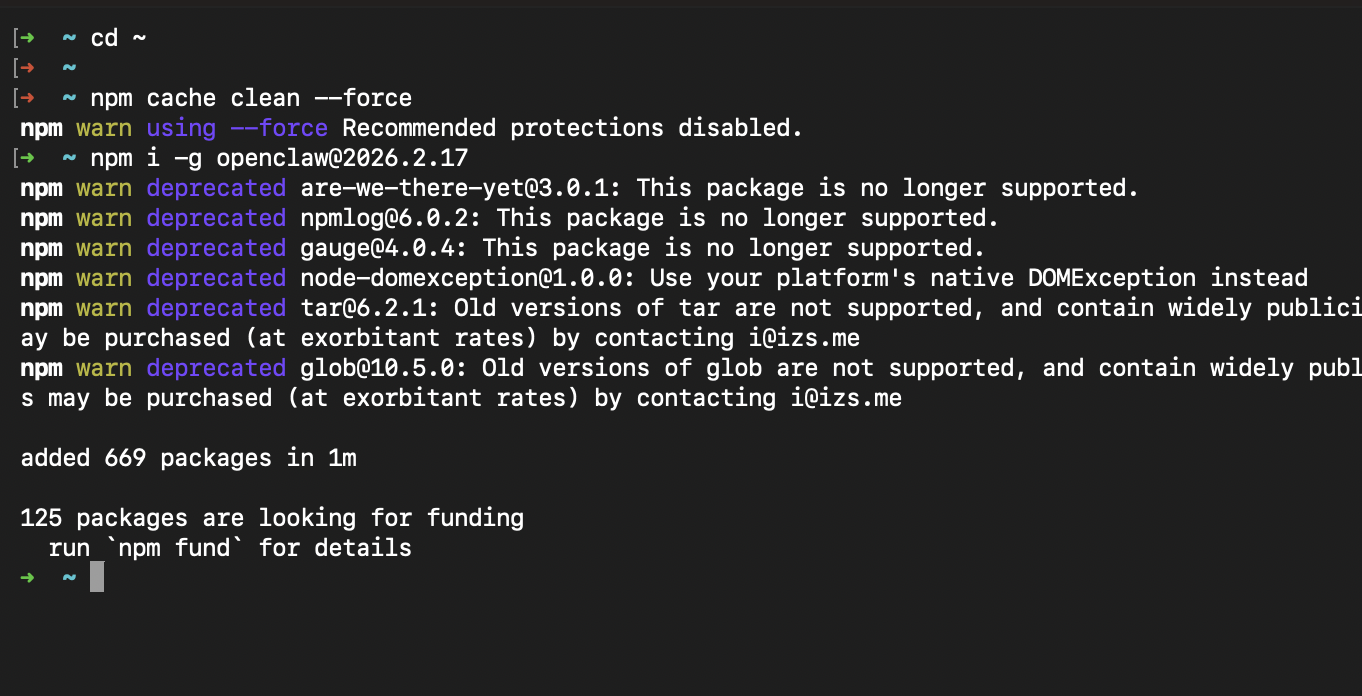
You should be seeing this!
Run the command below to check if it’s installed successfully.
3) Onboard OpenClaw
This will take you through a series of steps.
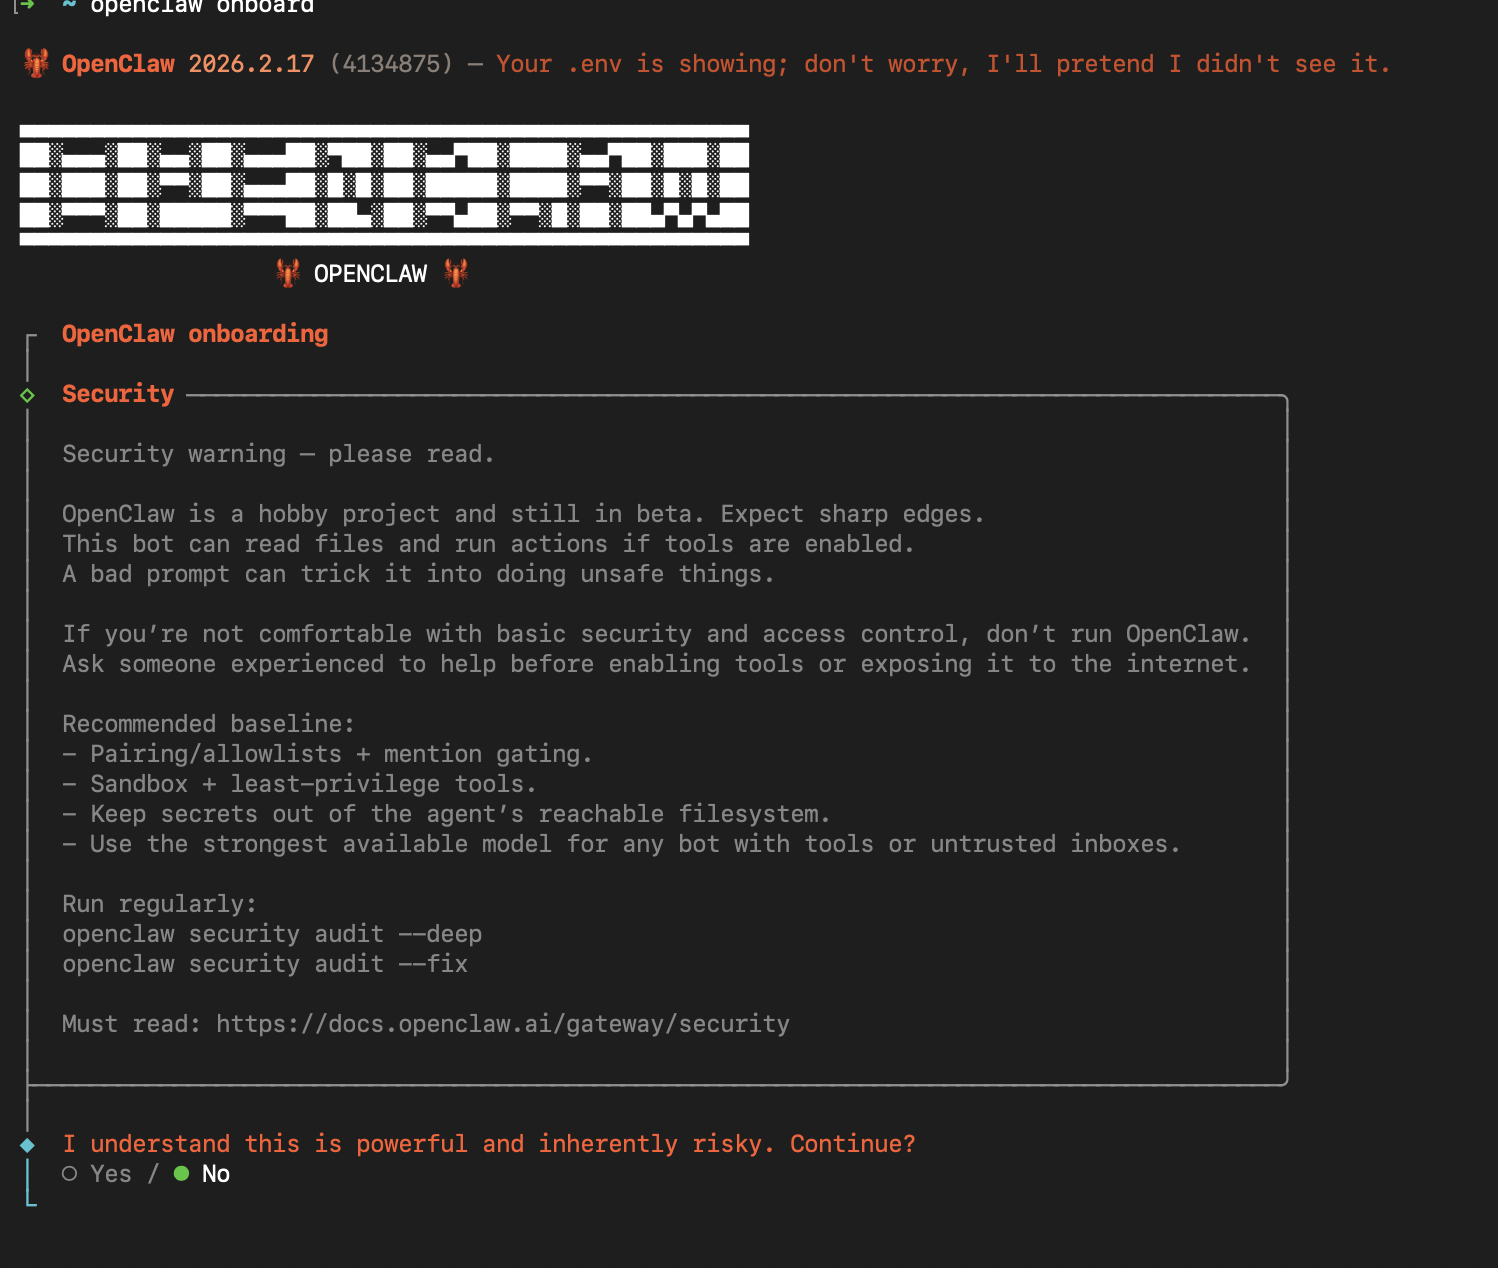
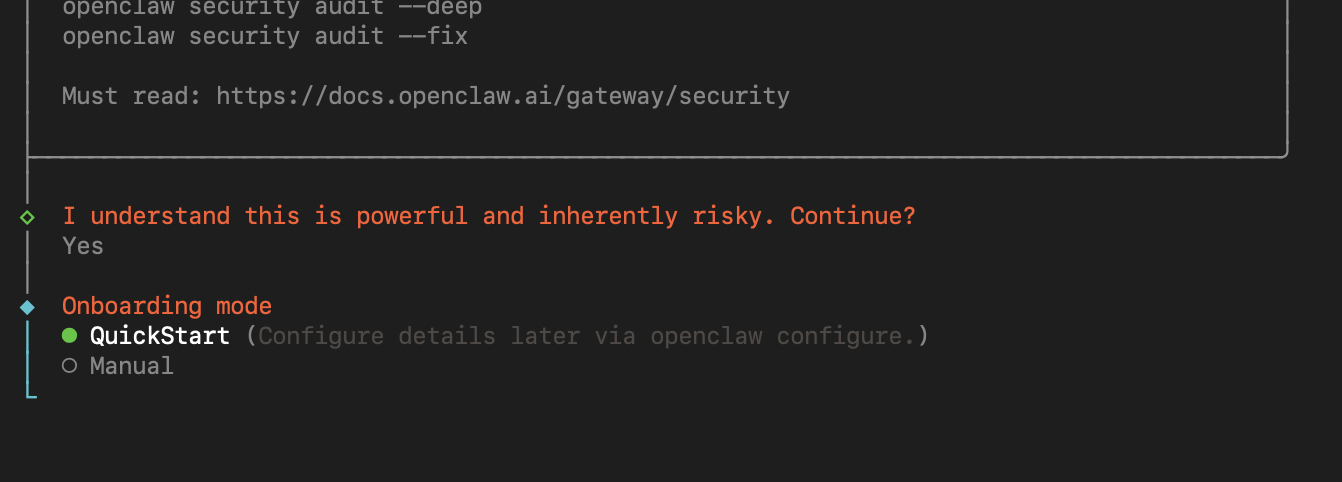
You are on your own, buddy! It’s risky, but it’s worth it. Choose “Yes“ and continue.
Next, you will be prompted with QuickStart or Manual. Choose “Manual” — Let’s learn.
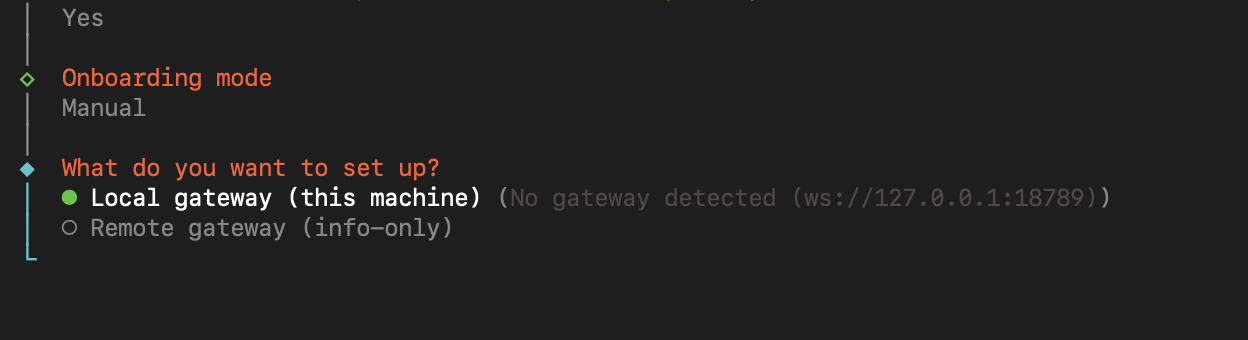
Choose Local Gateway - Will be running on your localhost.
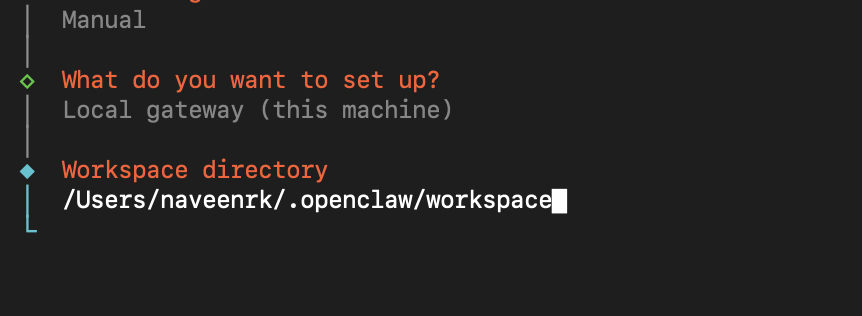
Workspace Directory - This is where OpenClaw stores all your sessions, data, etc.
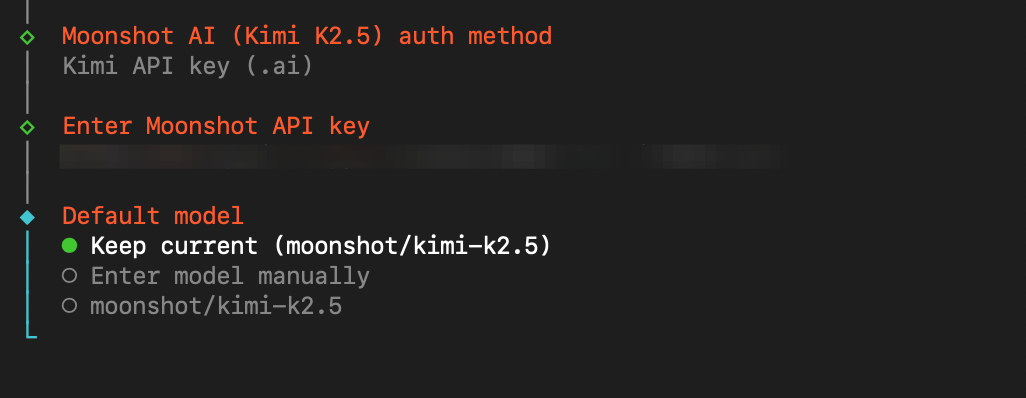
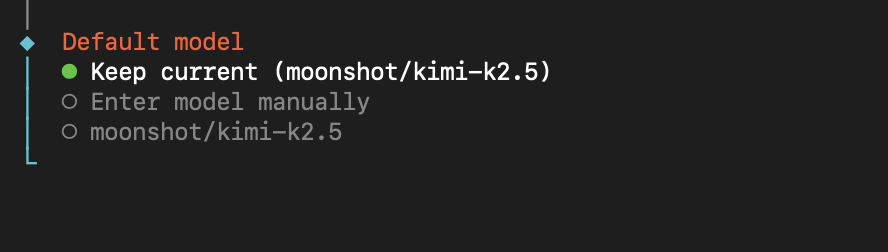
Next, the model providers. Connect your favourite model or the one you can afford. I choose Moonshot (Kimi K2.5)
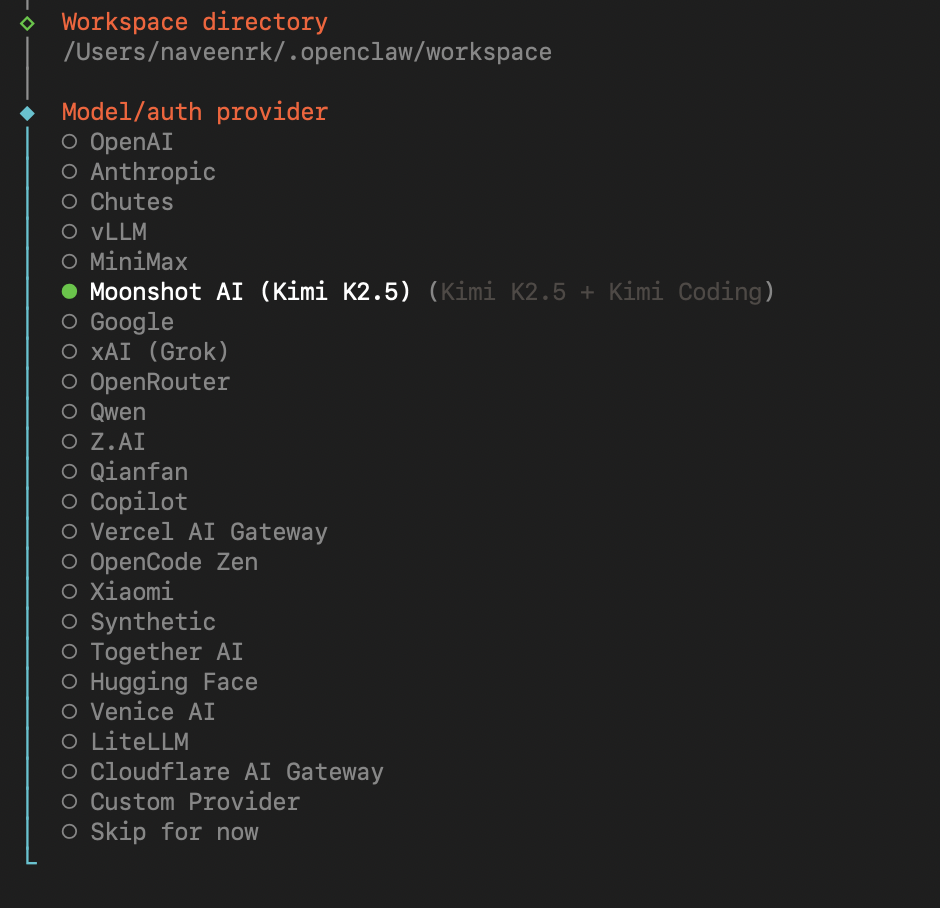
Note: Keep in mind that the API calls made by OpenClaw to the models consume a lot of tokens. So, just be cautious.
Purchase a $5 credits from Claude for the best results. Anthropic is the best for OpenClaw.
Don’t worry - I will deactivate this API key, so don’t even think of stealing it.
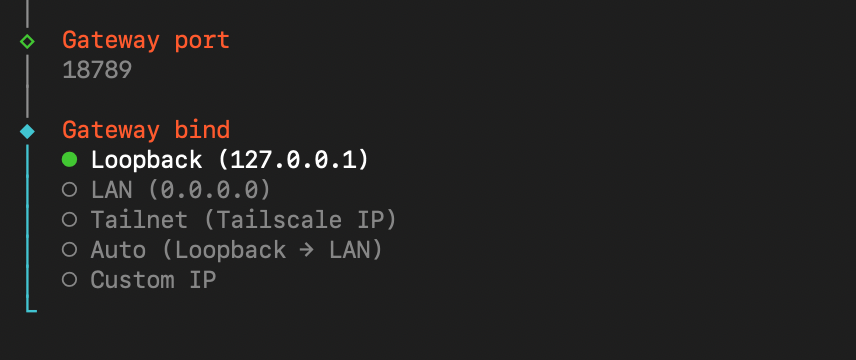
The following steps are simple! Just choose as it is in the image.
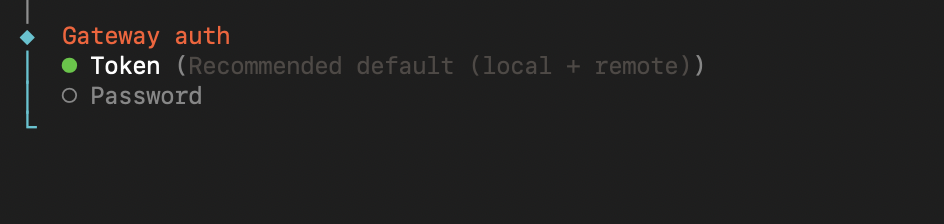
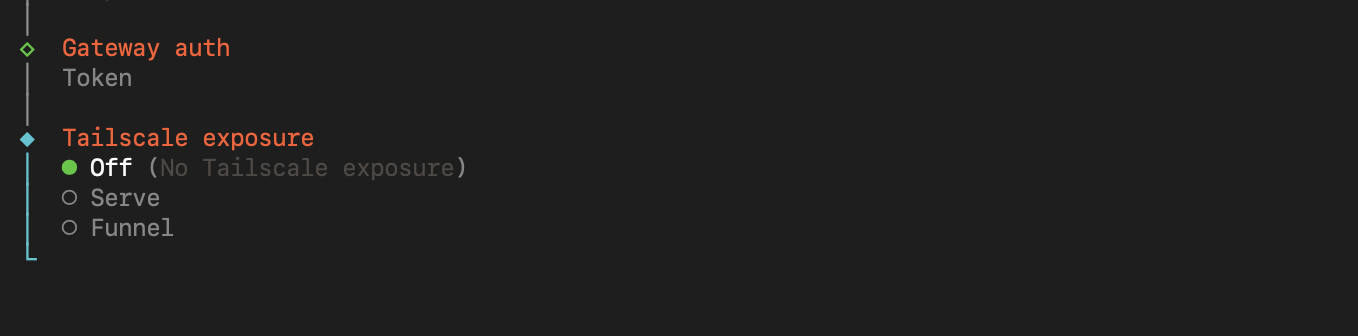
We need an authorization to connect to the gateway. Choose “Token”
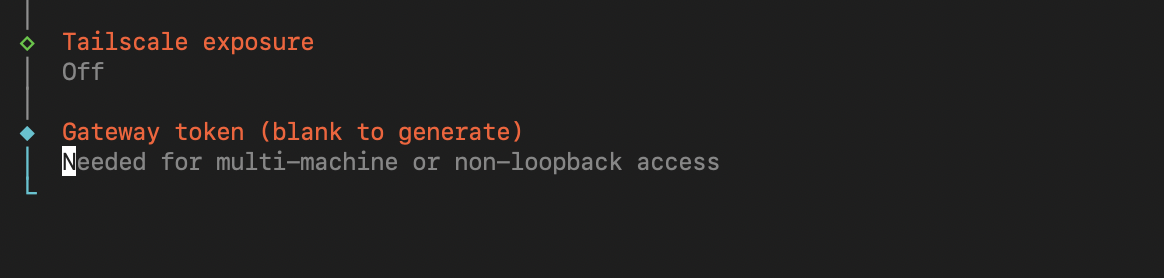
Turn this off!
Just click “Enter“ - It will generate its own token.
You can find it here ( ~/.openclaw/openclaw.json ).
In Windows, it should be (C:\Users<YourUsername>.openclaw\openclaw.json)
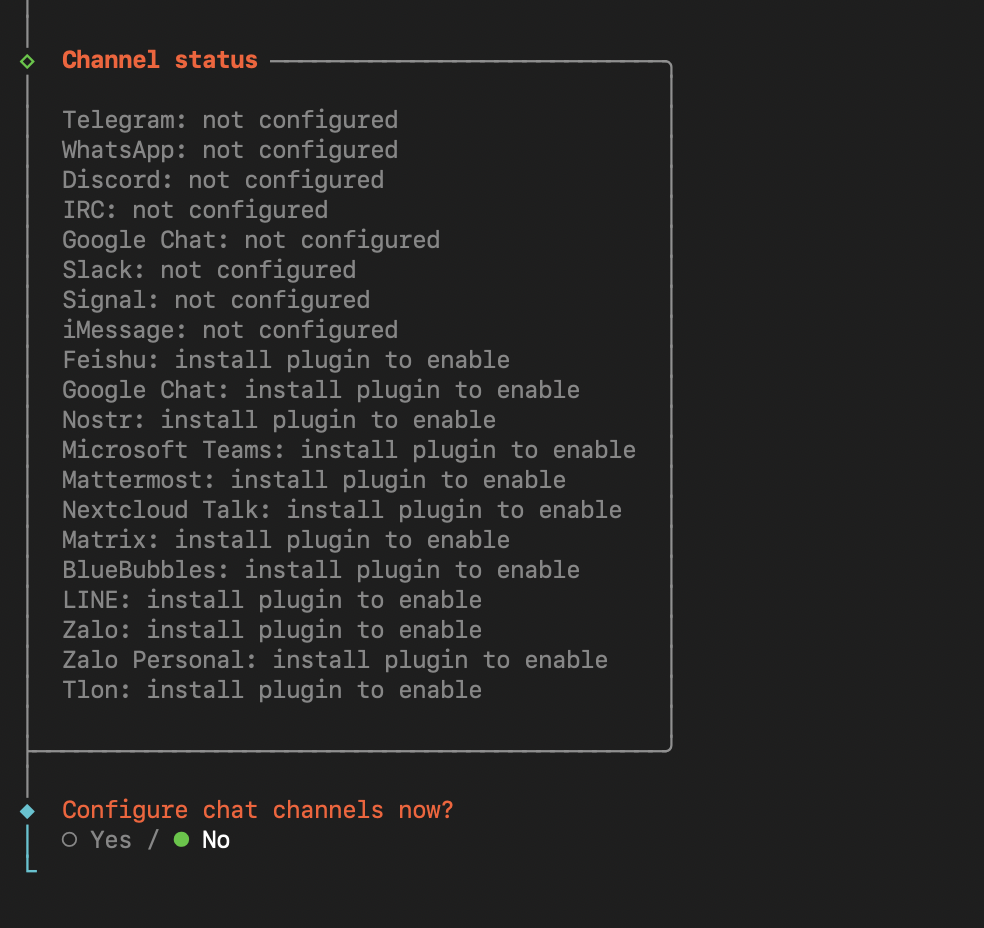
Skip all the following steps now. Btw, this is the Channels.
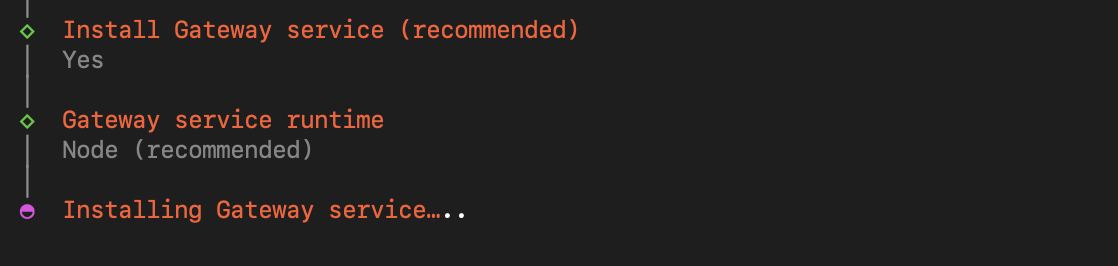
Highly, highly recommended. Install the Gateway Service and choose Node.

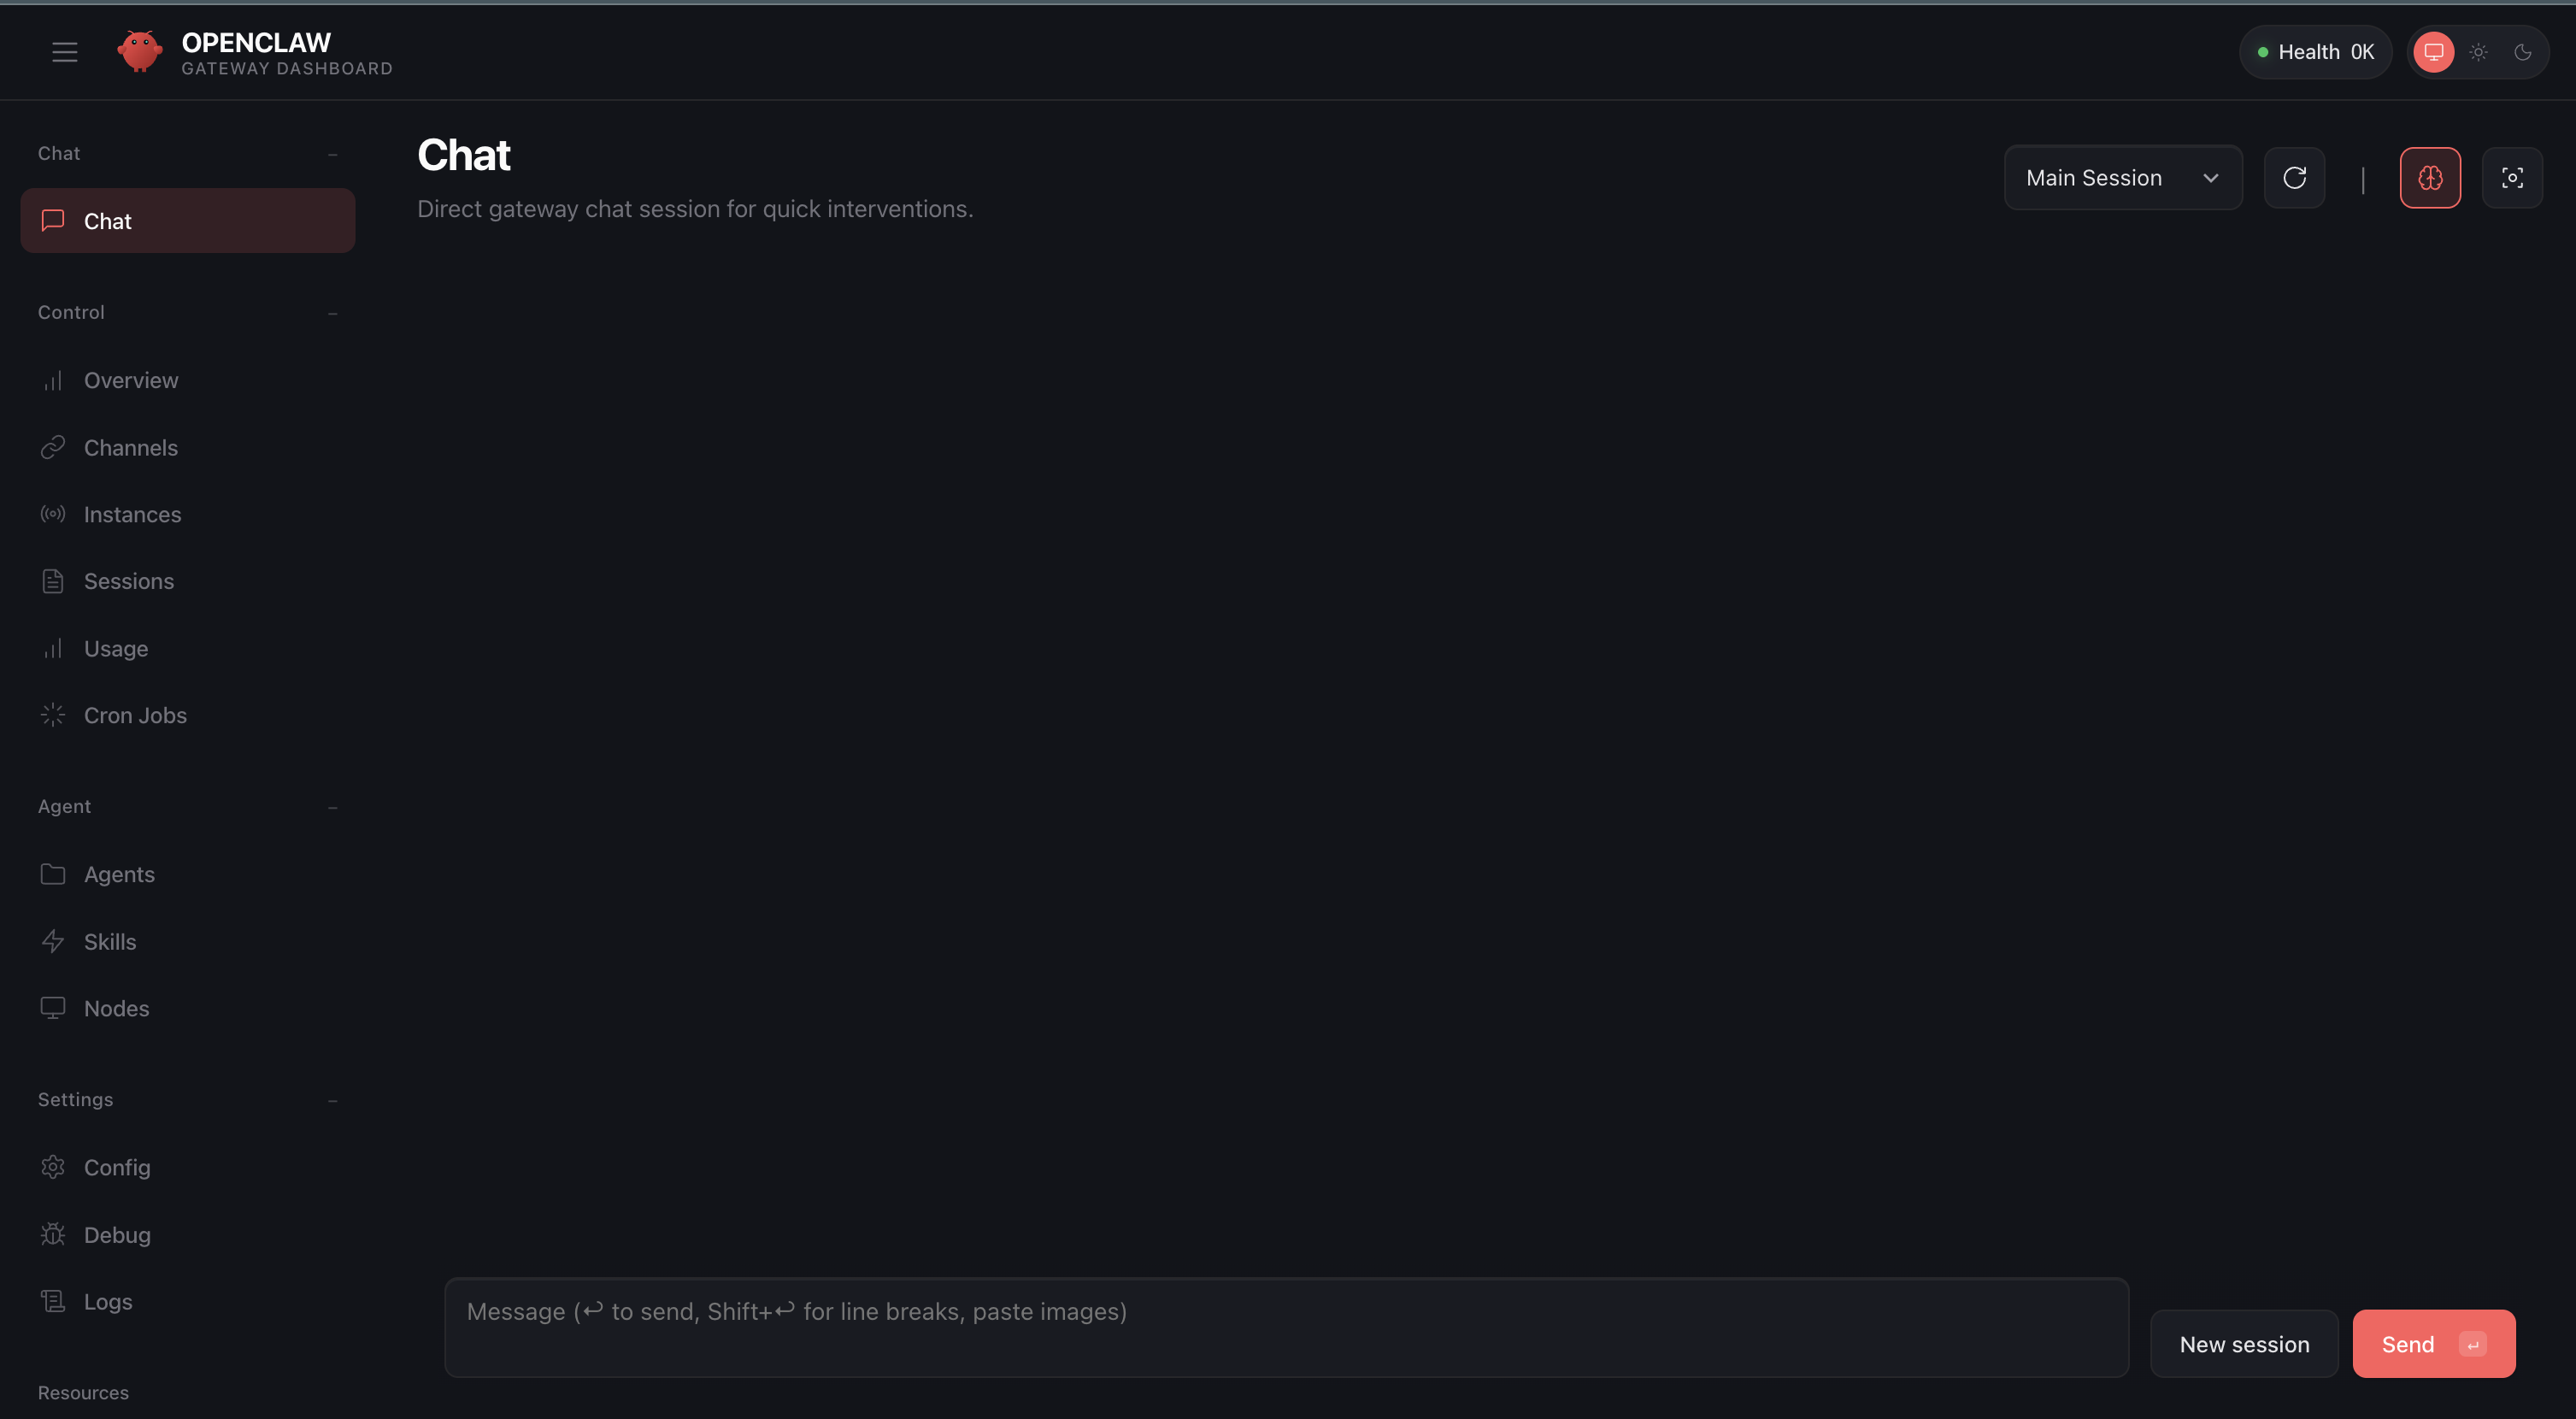
Oh! You want to see OpenClaw in UI. Here it is. Choose “Web UI“. TUI is

Then you should be seeing this in your terminal.
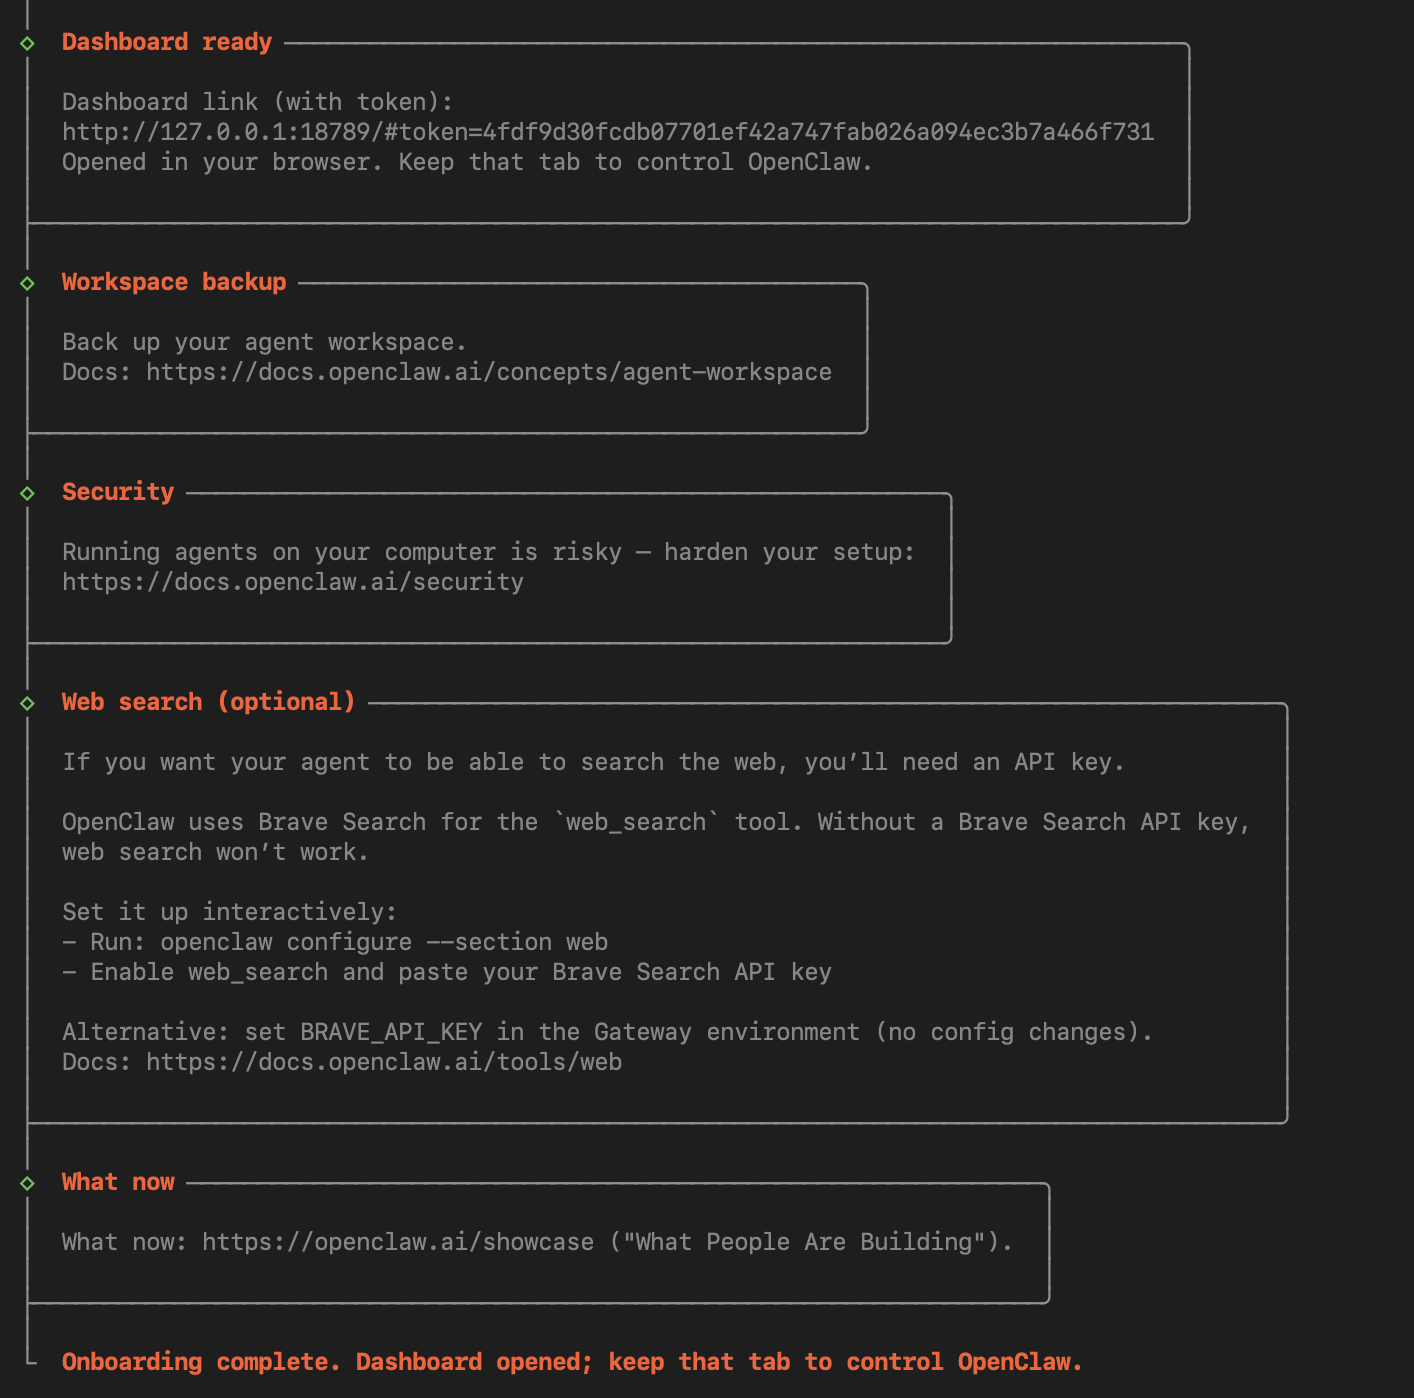
And this in your browser
That means. The setup is complete. Good Job.
The UI is serving from the gateway and is always running in the background, along with OpenClaw.
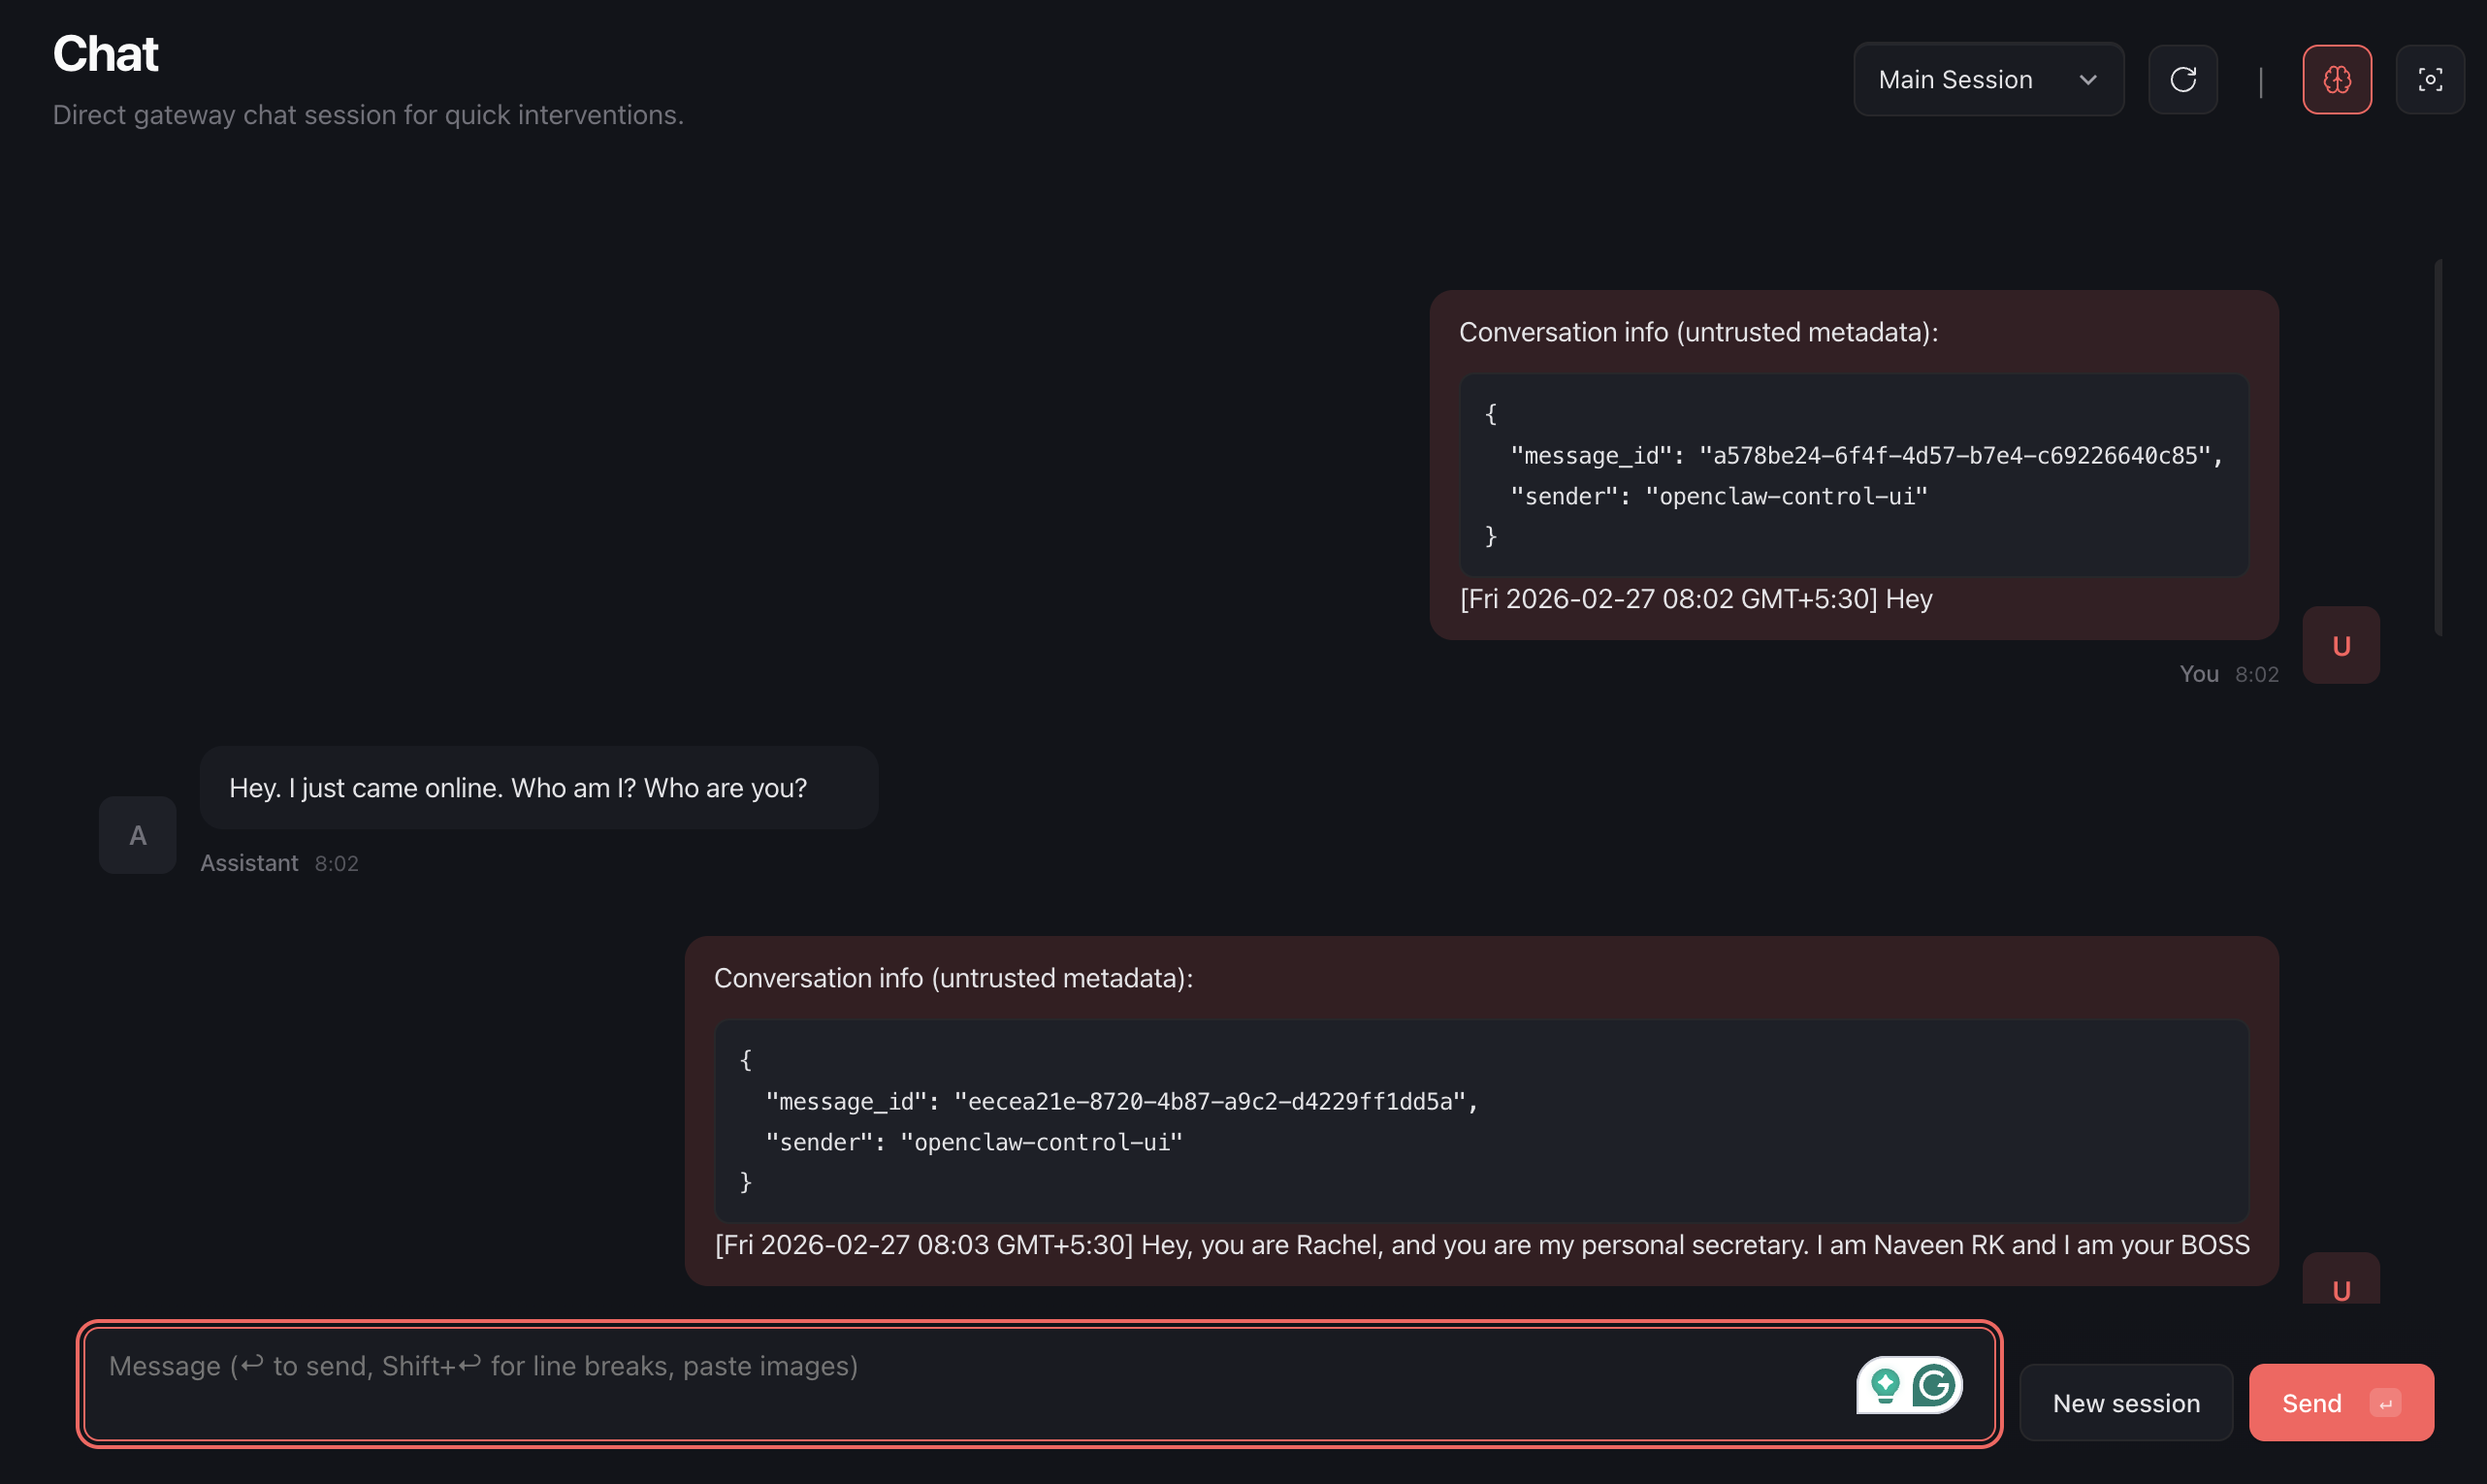
Now, you can chat with this.
Connecting to WhatsApp
Run the following command
You will see the options below. Click “Yes“
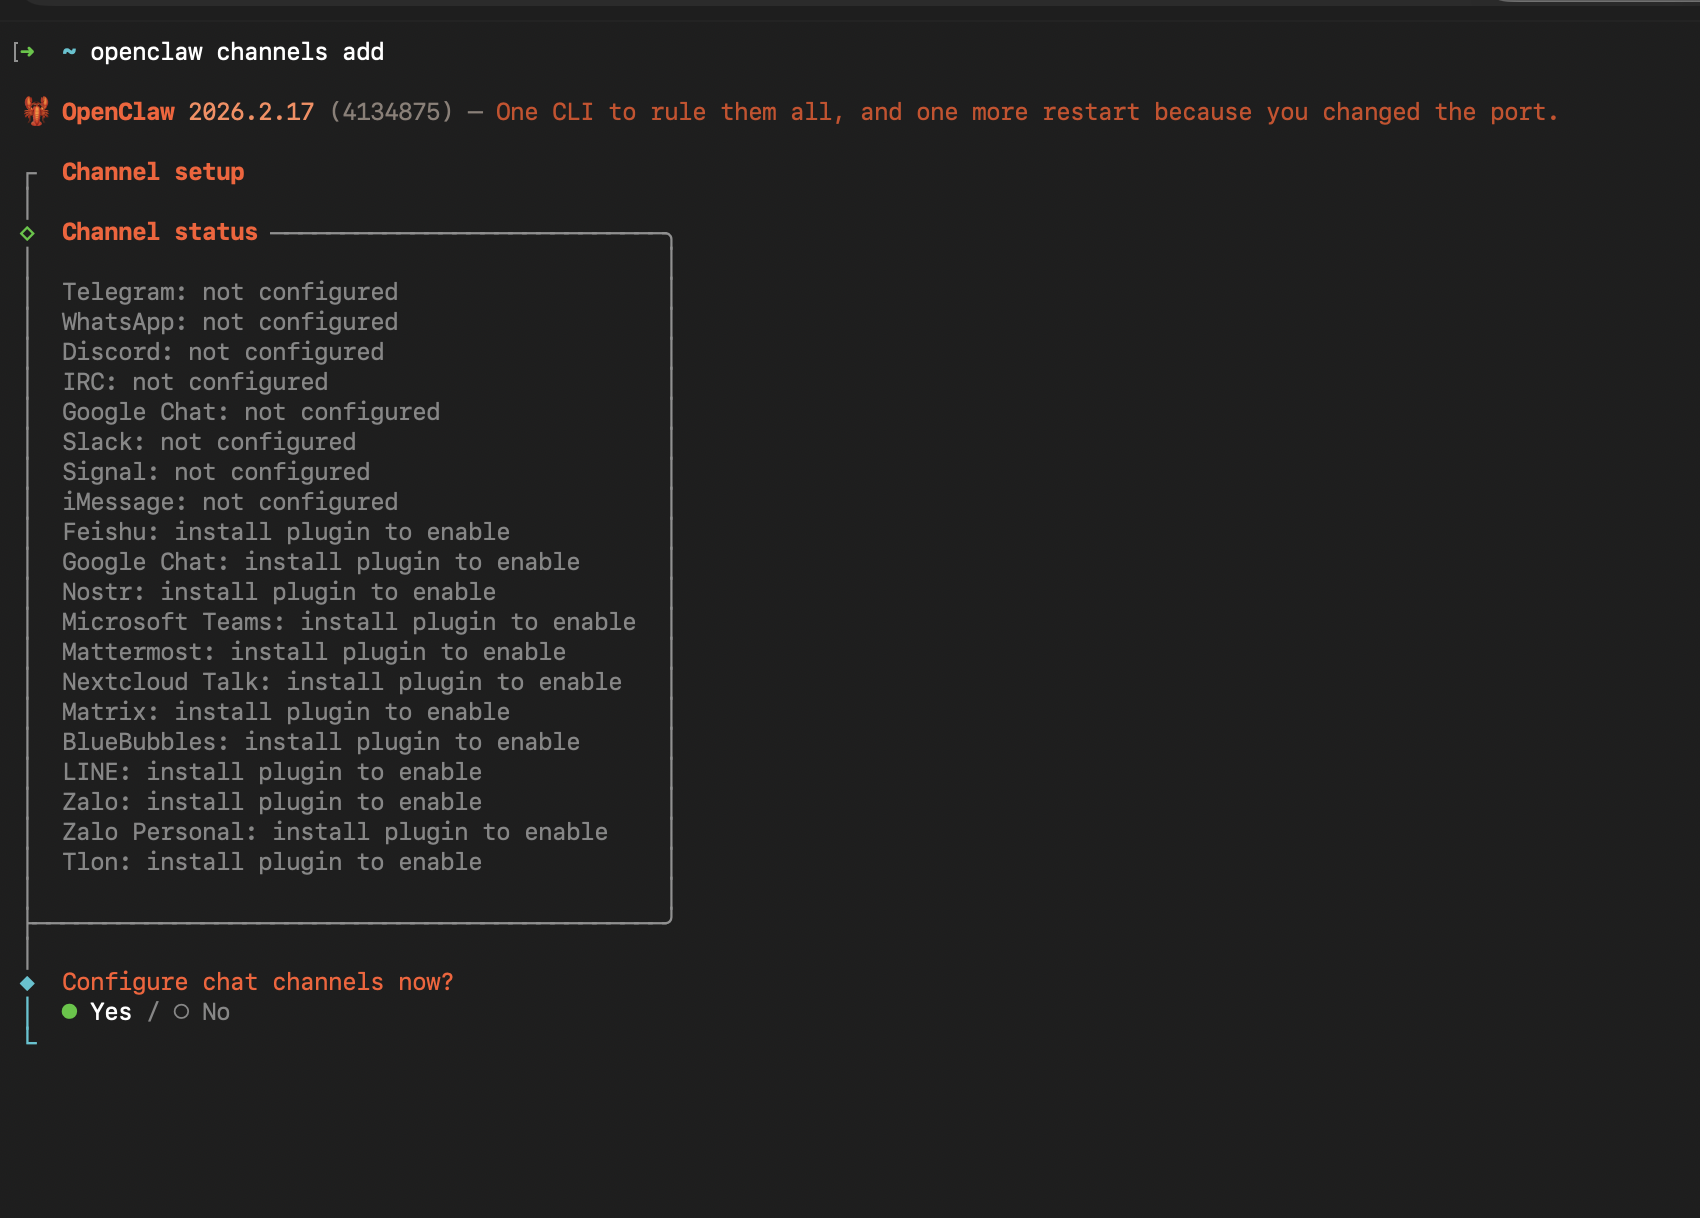
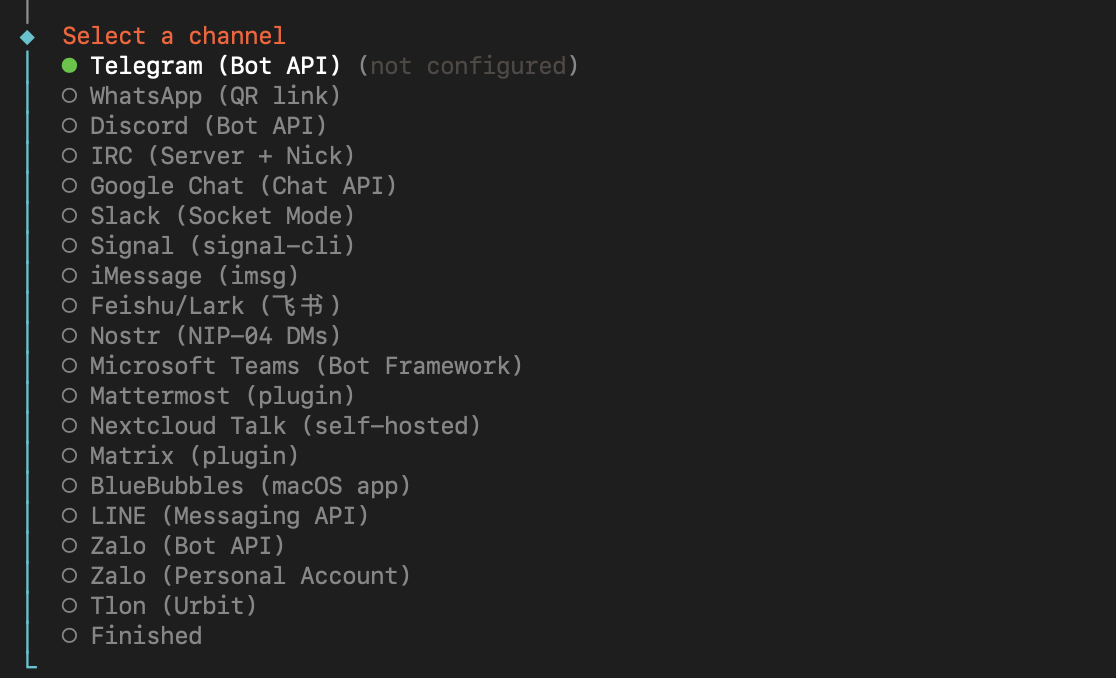
Select “WhatsApp“ Channel. And
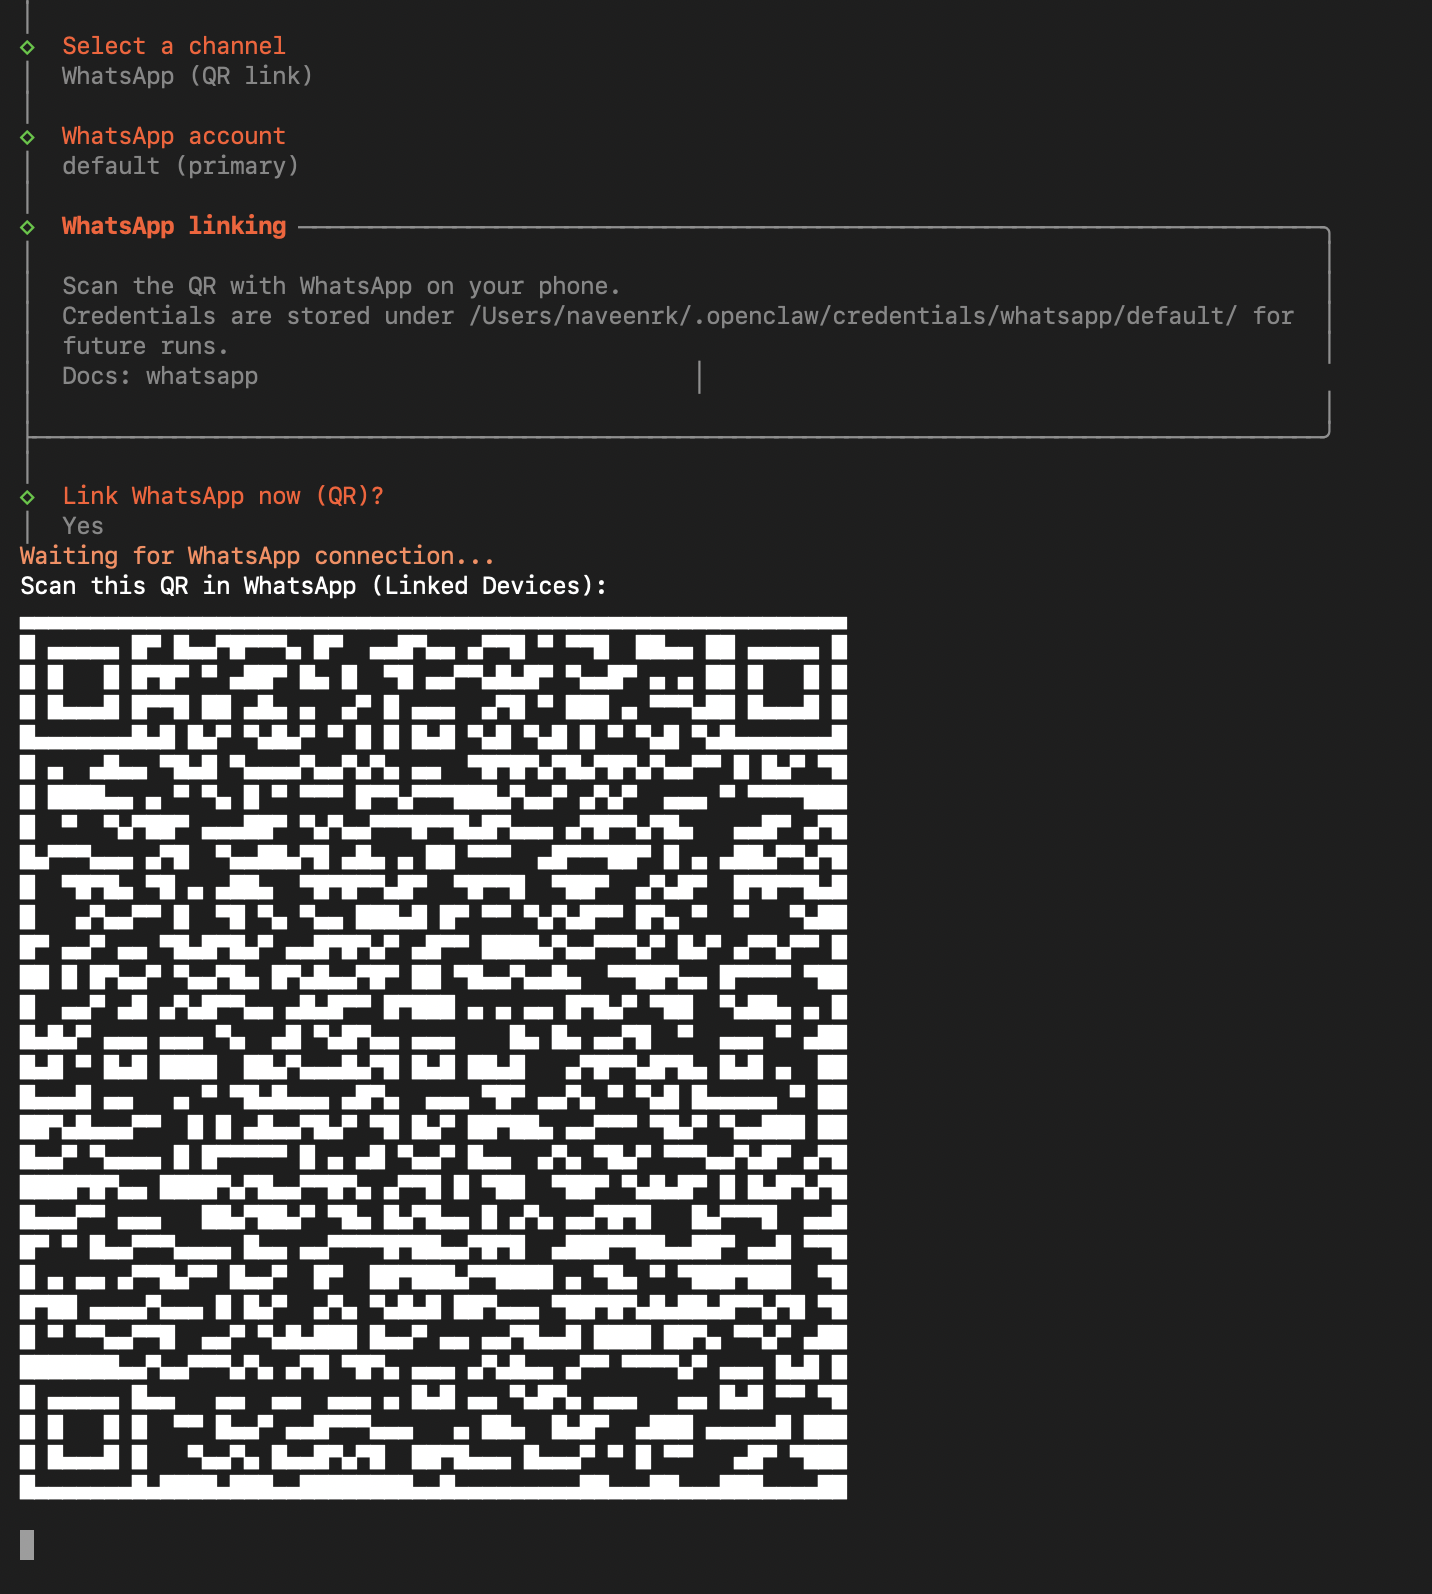
Then, you will be prompted with a QR. It’s the same mechanism as WhatsApp Web.
You go to your WhatsApp, choose “Linked Devices“ from settings, and scan this QR, and you will be connected.
Then enter your number, and you are pretty much done.
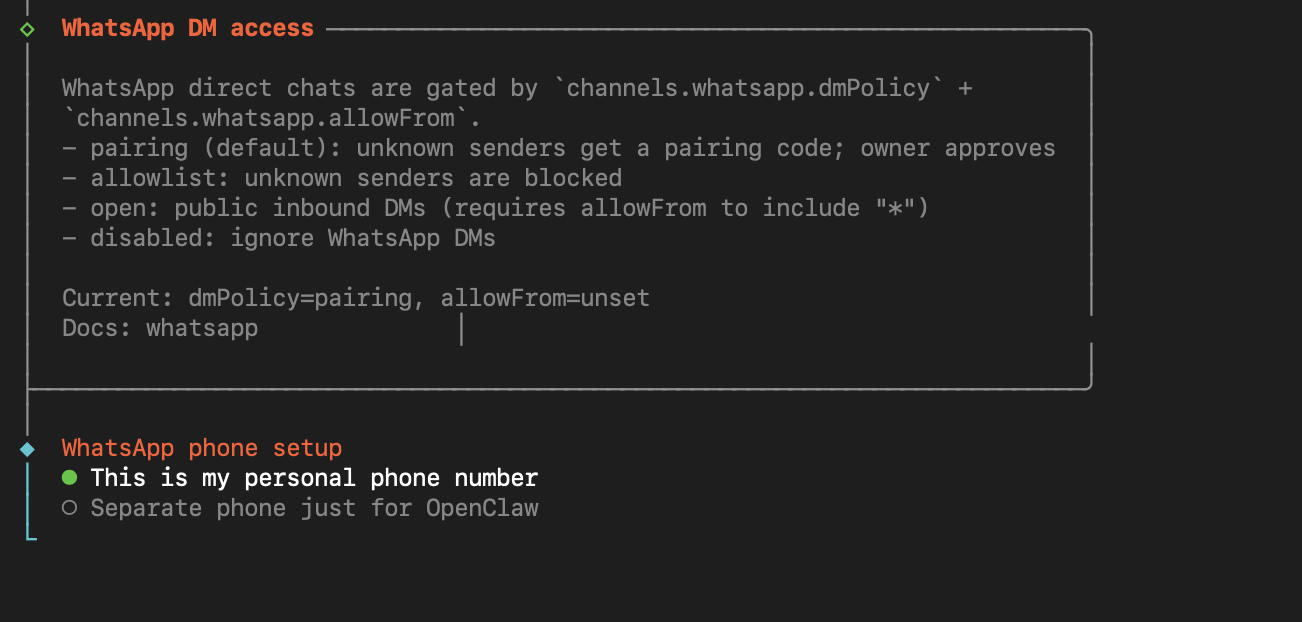
Enter your number. Ensure it’s in this format - +917358343424 — Your country code followed by your number with no spaces.
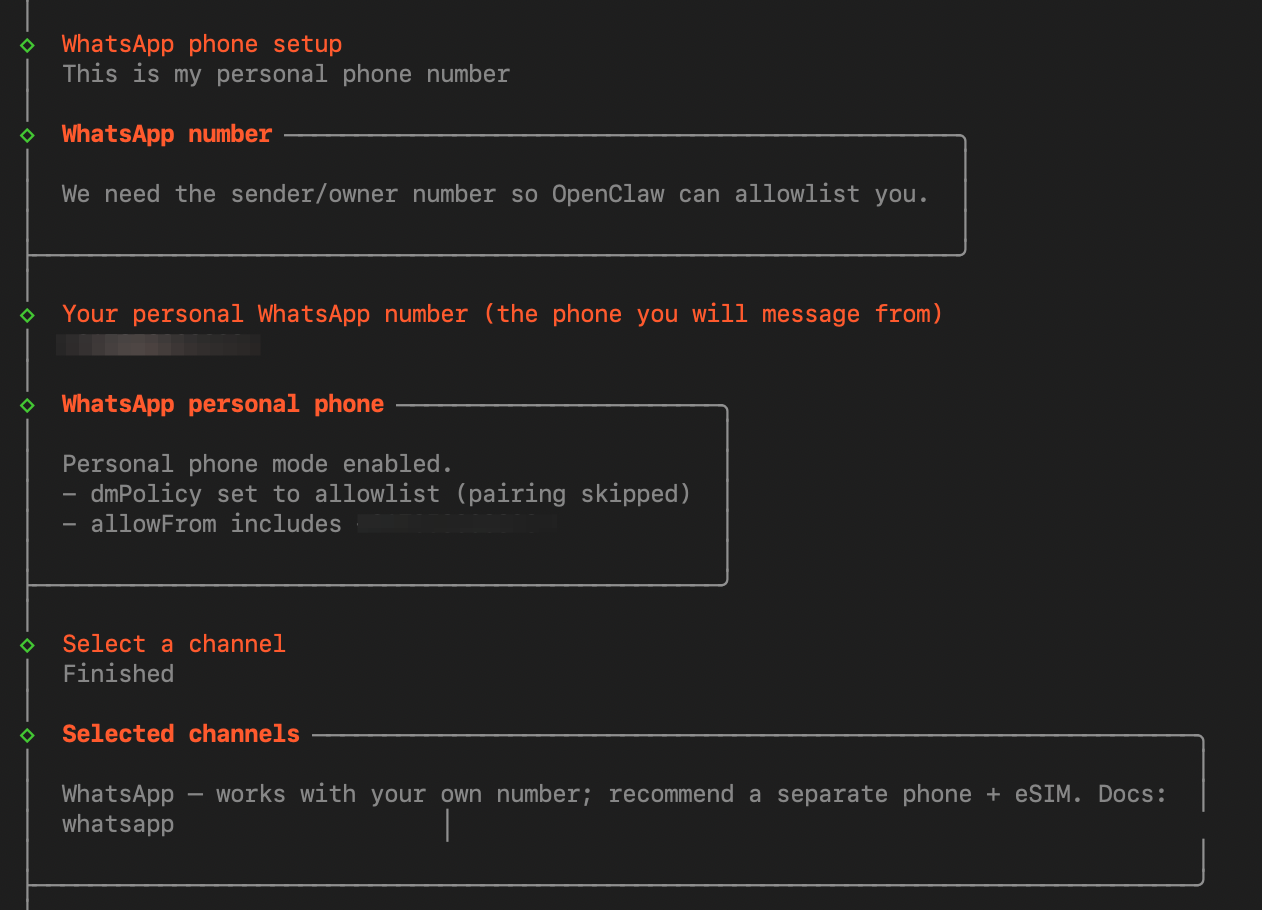
After it’s done. Go to the UI, refresh it.
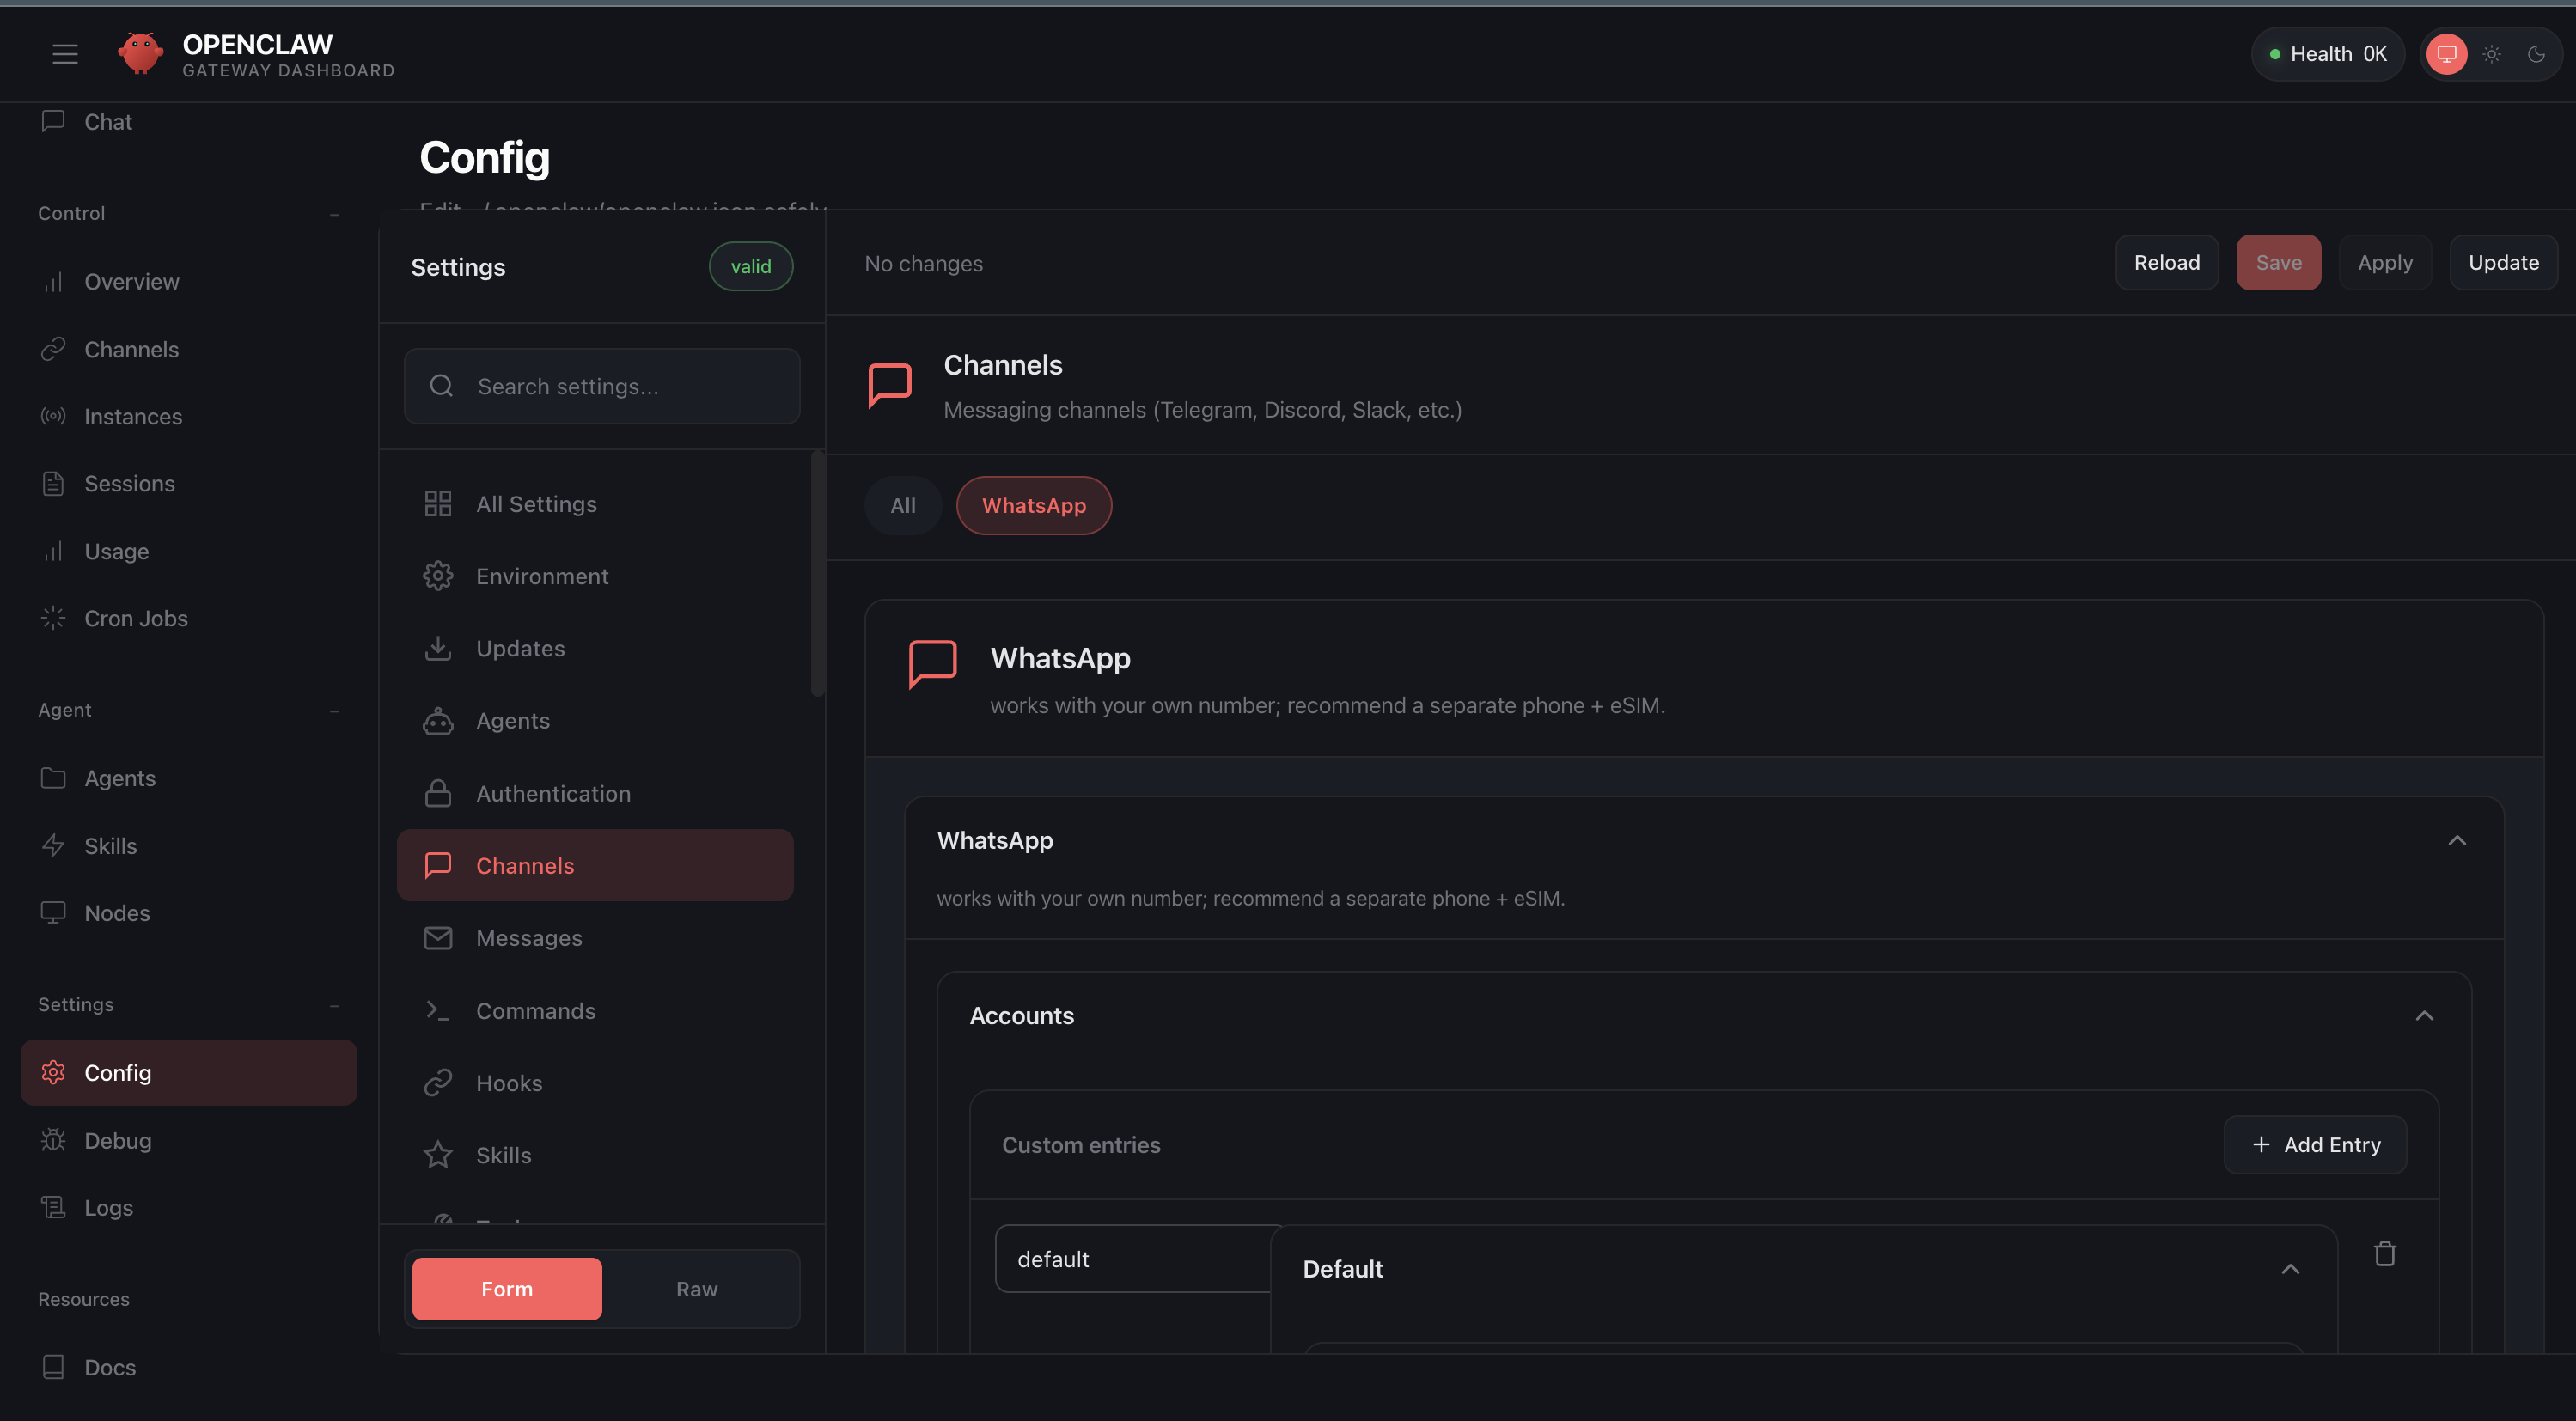
Click on the “Config” tab on the bottom-left. Click on the “Channels” within settings. Then you will see your WhatsApp connected. That’s it.
From the chat interface, you can now ask OpenClaw to send messages. It will do.
OpenClaw doesn’t use any API to send WhatsApp messages. It works in the same mechanism as WhatsApp Web.


That’s it.
You are now officially an OpenClaw developer.
We can do a lot more.